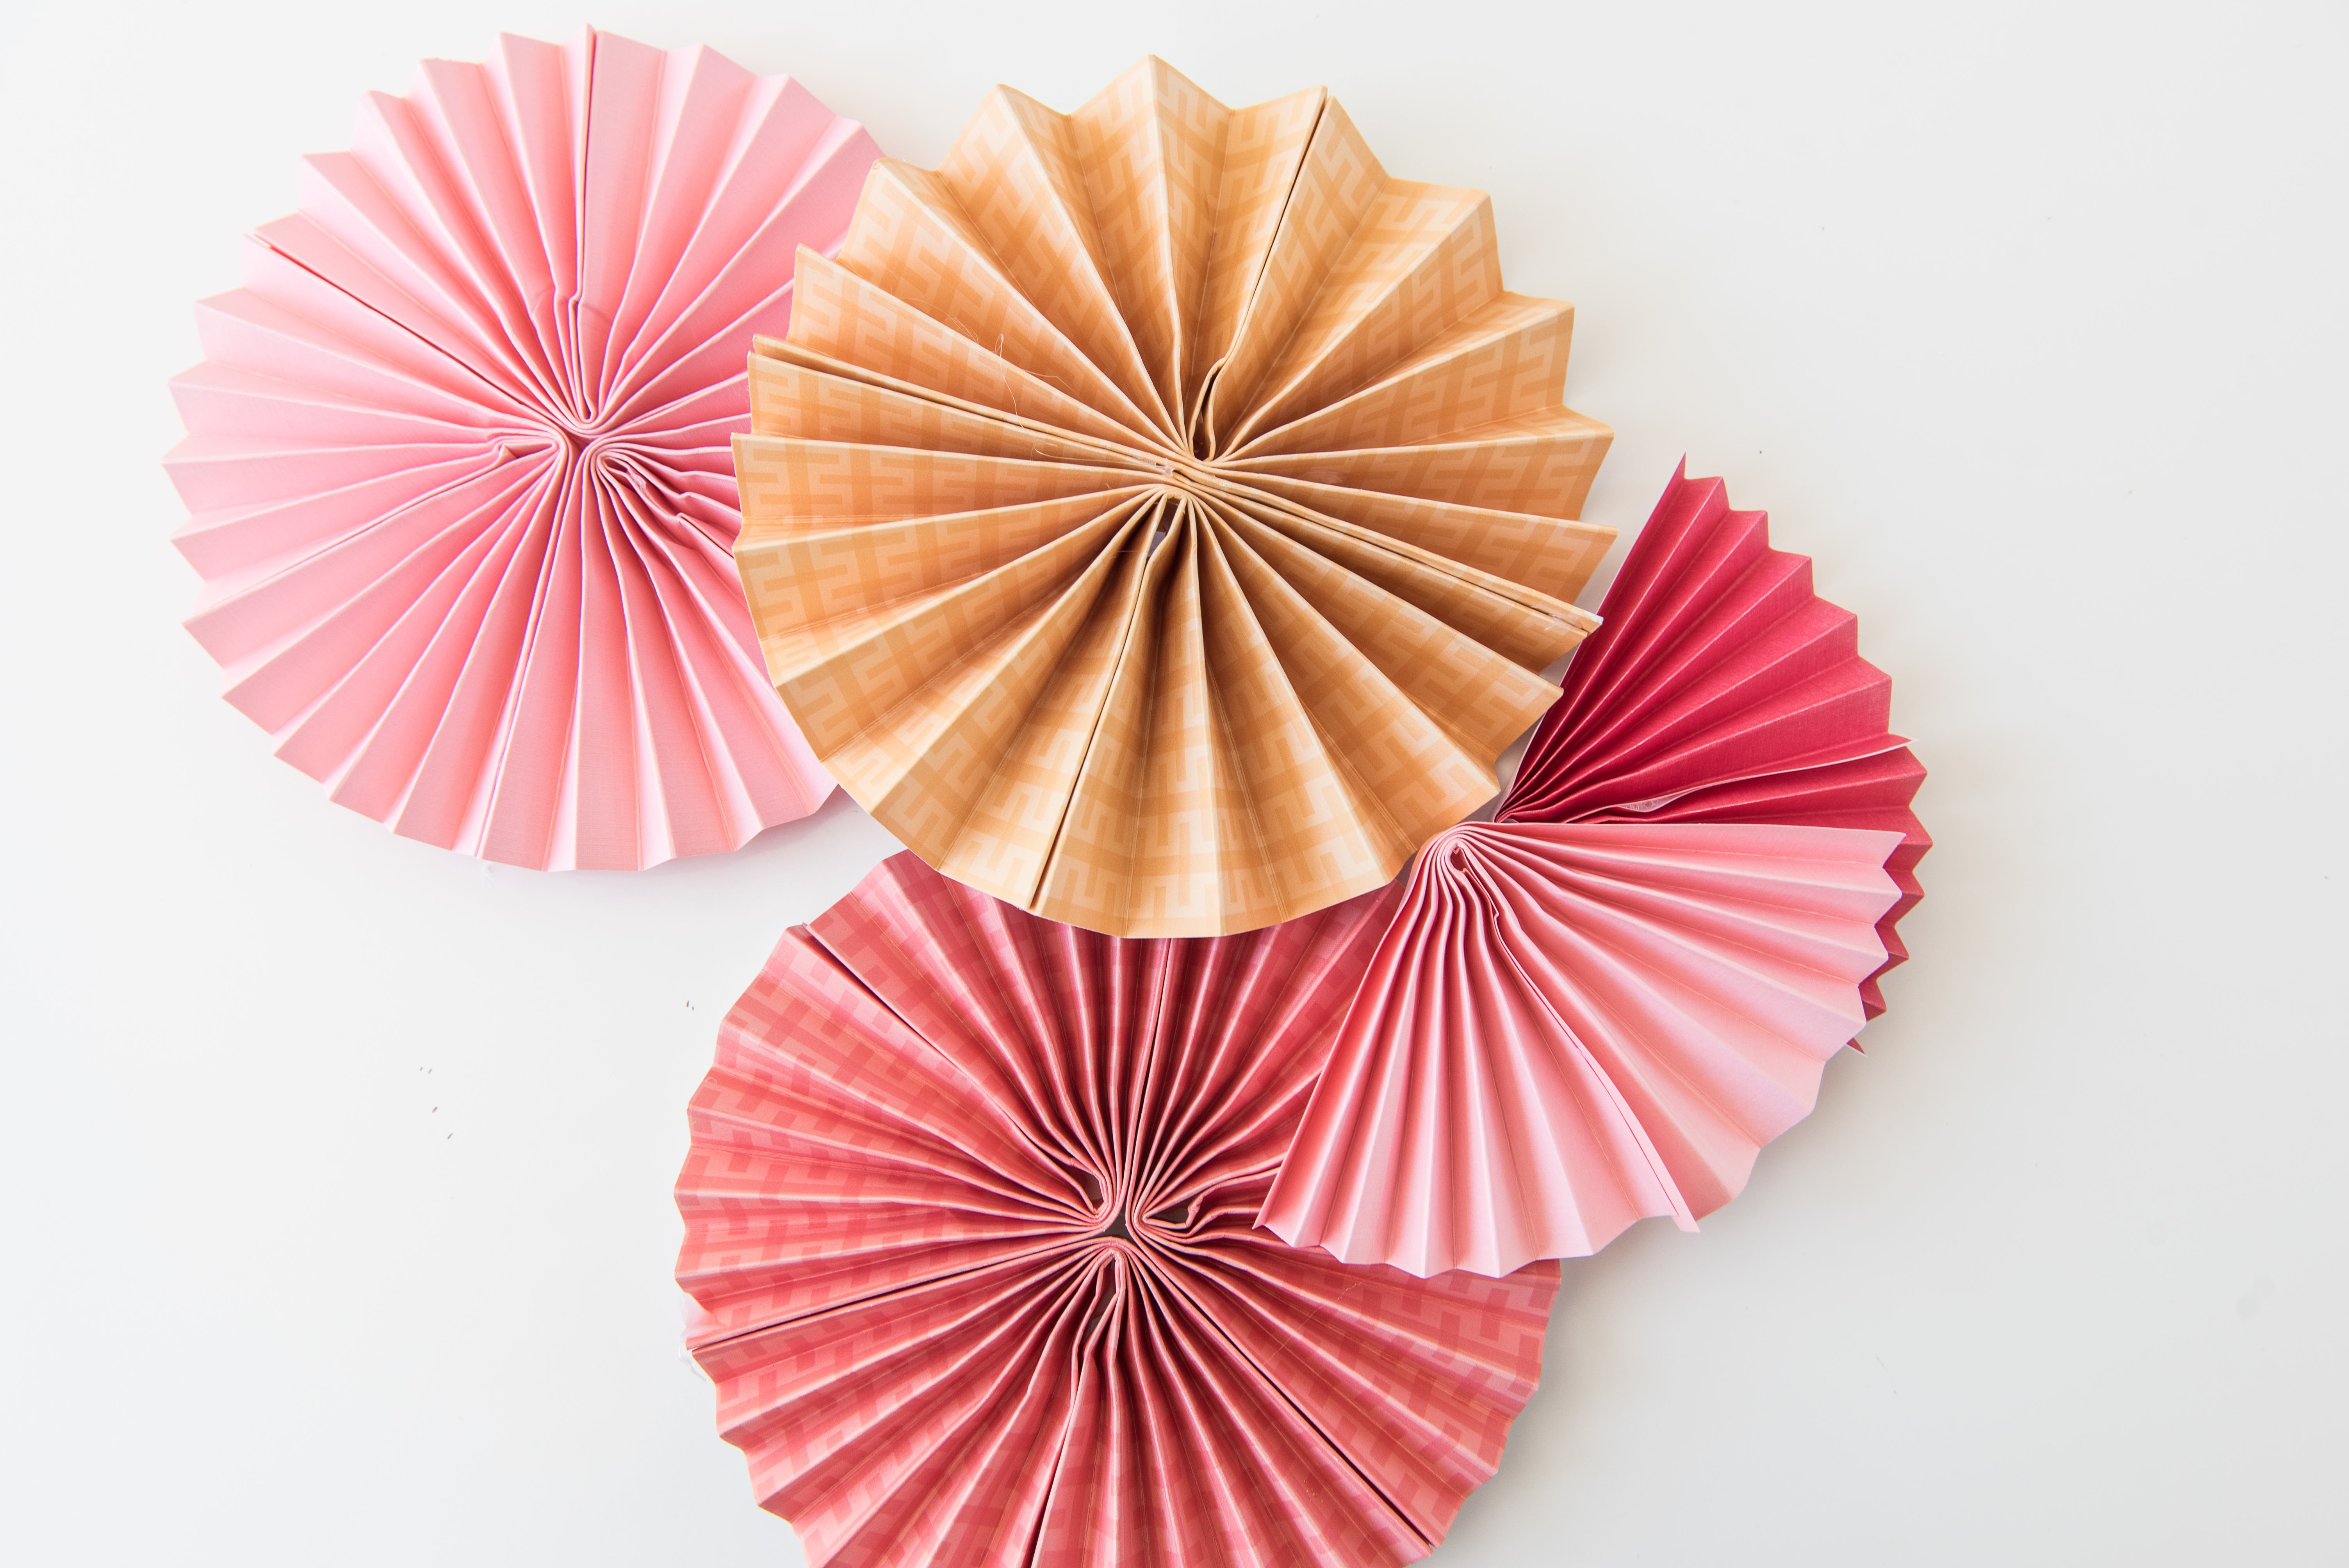
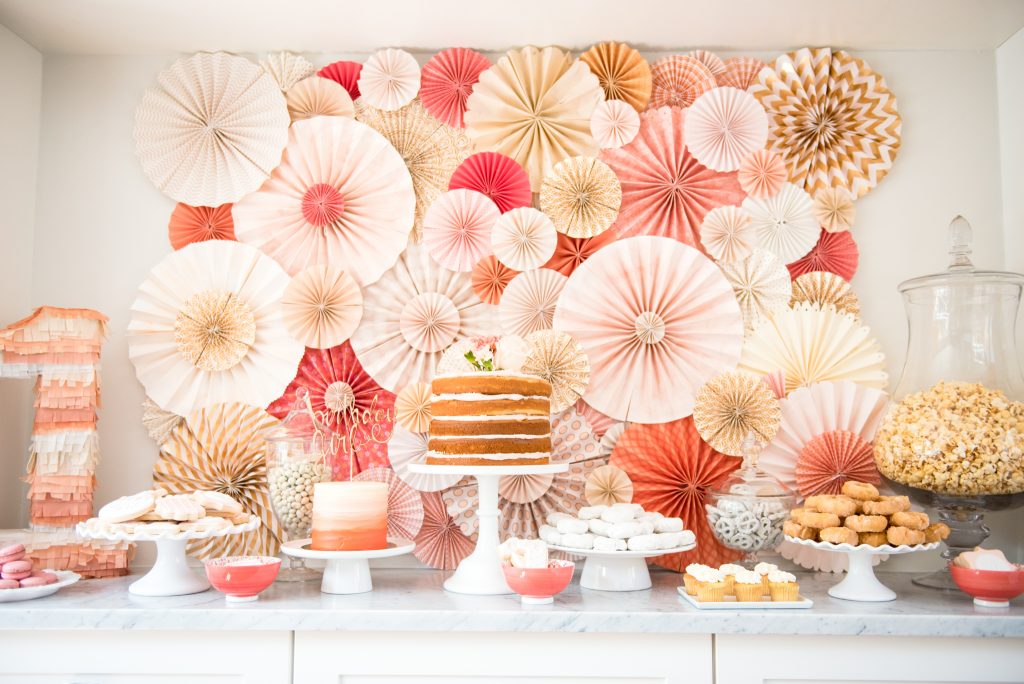
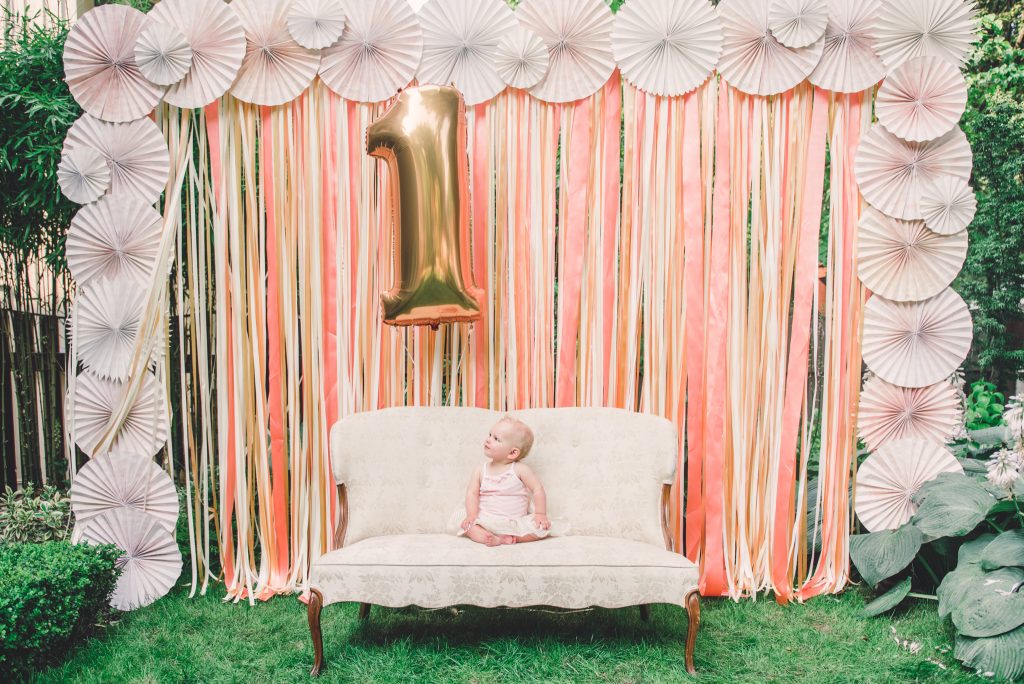
When we did our kitchen reno, I had a vision of built-in cabinetry that went along the entire back wall of the eating nook. We designed a recessed section in the middle with the thought of installing some open shelving but, it turns out, I love having the flexibility to create awesome things in that open space on the back wall! That’s where this DIY pinwheel backdrop tutorial comes in.
Full disclosure: I did not come up with this idea on my own. In fact, my best friend made this exact pinwheel board for her son’s 1st birthday. Then I asked her how to do it, then she told me exactly how to do it, and then she told me where to buy everything, and then I made an exact replica of her pinwheel board for my daughter’s birthday 5 weeks later. Eye roll. (I don’t know how she even puts up with me). We can both agree that this is a labor of love but it’ll be worth it and you’ll love it! Let’s get started.
Materials:
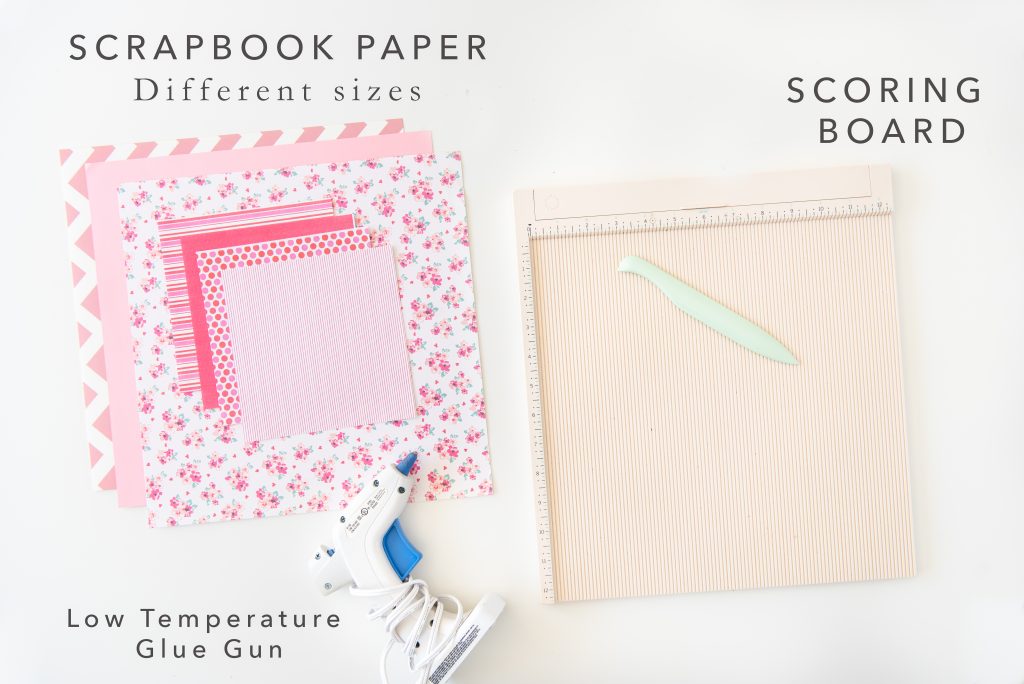
Scrapbook paper 12″x12″ and 6″x6″ – this is where you have fun! You can buy paper in cost-effect booklets or in single sheets if you have a specific color scheme or design in mind. Be sure to get different sizes of paper for a variety of pinwheel sizes.
Scoring Board: This is essential. Don’t even think about trying to fold all that paper without scoring it first! Out of all my crafting supplies, this is one of my all-time favourite tools and I end up using it over and over again for so many crafting projects!
Hot glue gun – A low-temperature glue gun will work for this and can usually be found at a dollar store.
Foam board – Use cardboard or get a tri-fold foam board if you want a larger surface area. You can also tape the pinwheels to the wall but a board is better if you want to make it ahead of time or you have a location that doesn’t allow you to attach anything to the wall.
How to:
- Score your paper using the scoring board – For larger pinwheels I did 1 inch sections and for smaller pinwheels, I did half inch sections.
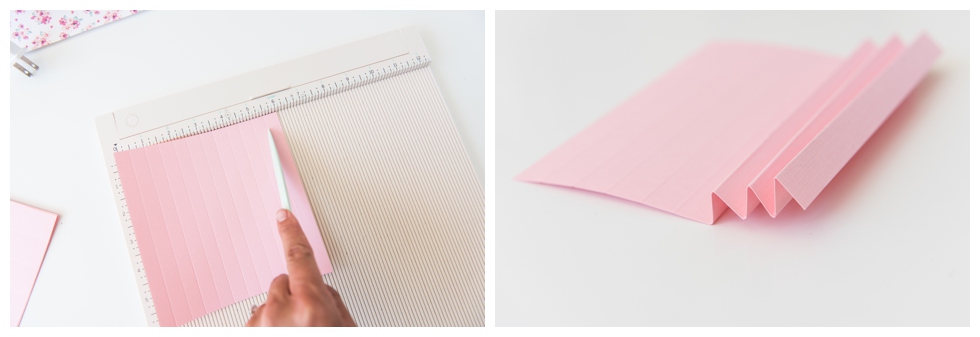
- Accordion fold each piece of paper. (Fold forward, then backward, then forward…until you get to the end).
- Fold the sheet of paper in half.
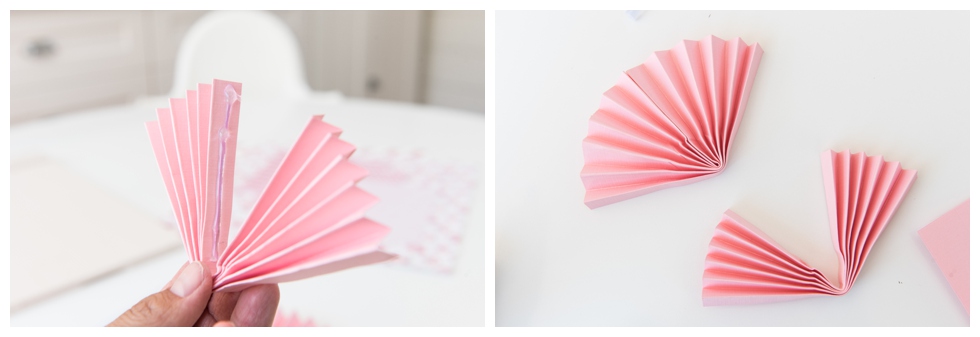
- Hot glue the center.
- Then glue 3 folded pieces together to make a complete pinwheel.
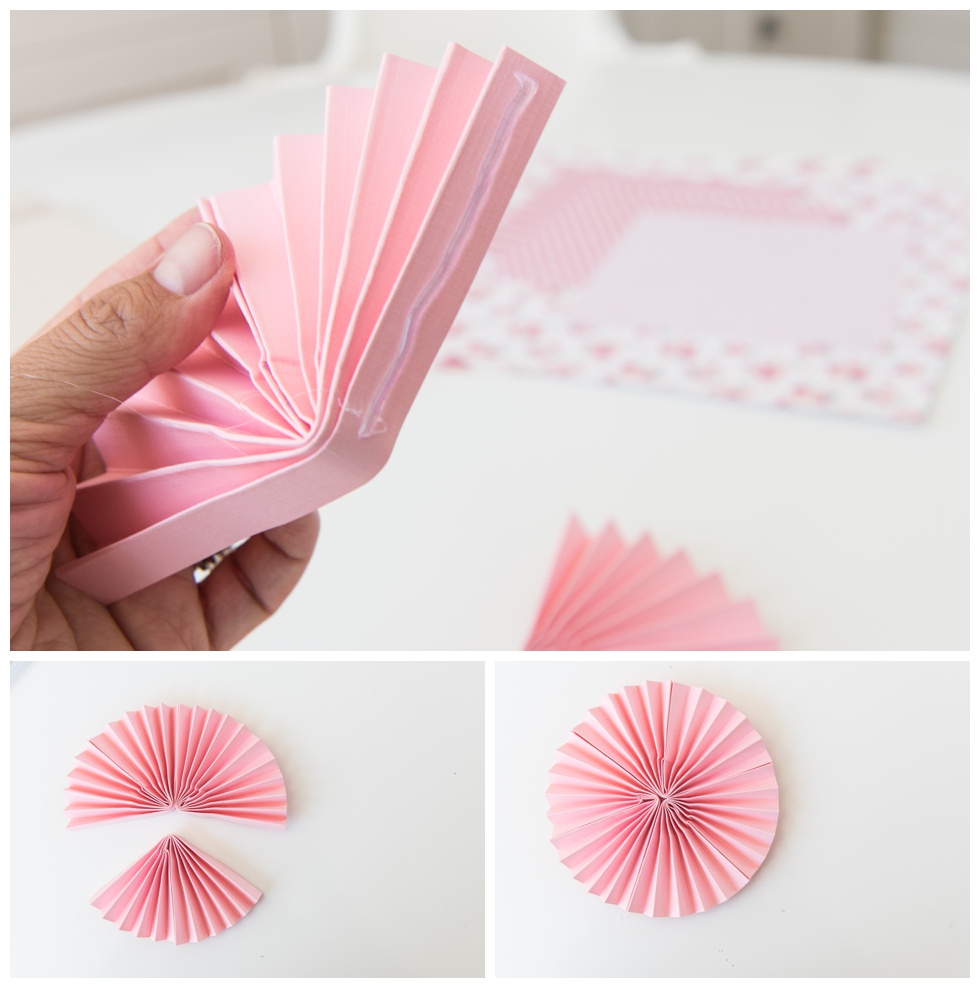
- You can glue mini pinwheels or circles to the centers if you want.
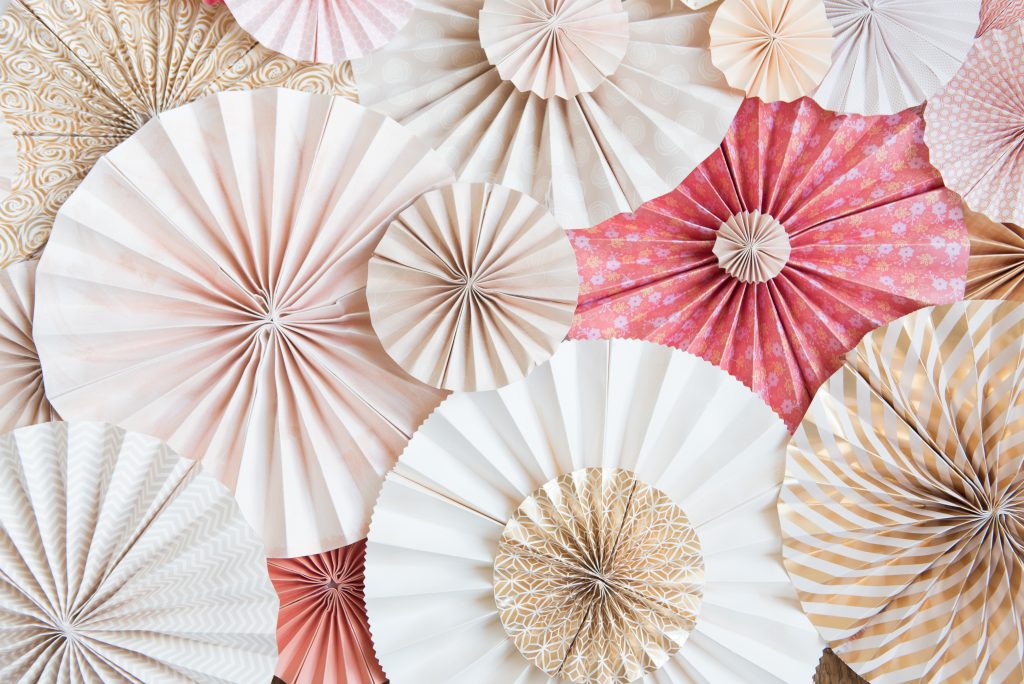
- Start assembling the board by placing the largest pinwheels first. Fill in the gaps with smaller pinwheels.
- Lean or hang the board against the wall. Voila!
Other Ideas for Pinwheels
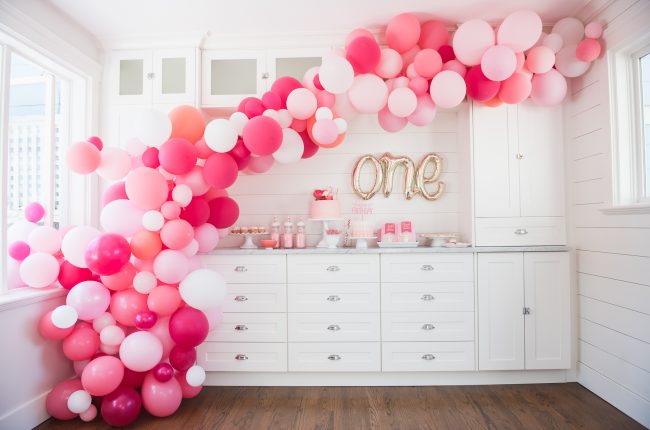
Paint sheets of plain paper for your own custom watercolour paper! I did this for an outdoor pinwheel arch when I needed to use very large paper. I literally used my toddler’s watercolor paints from the dollar store. Worked great!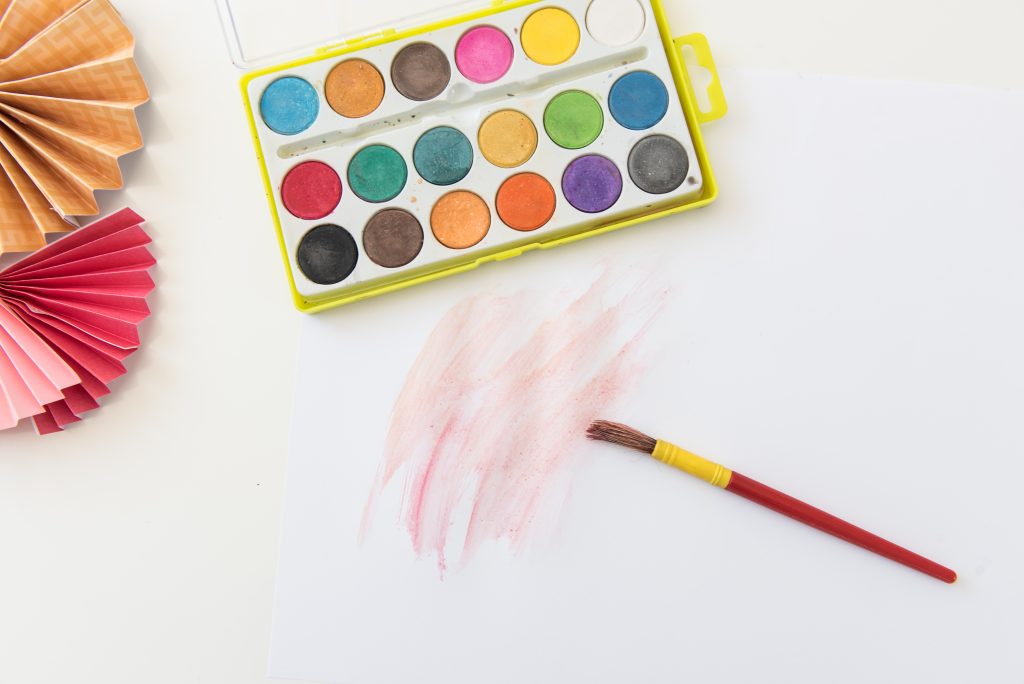
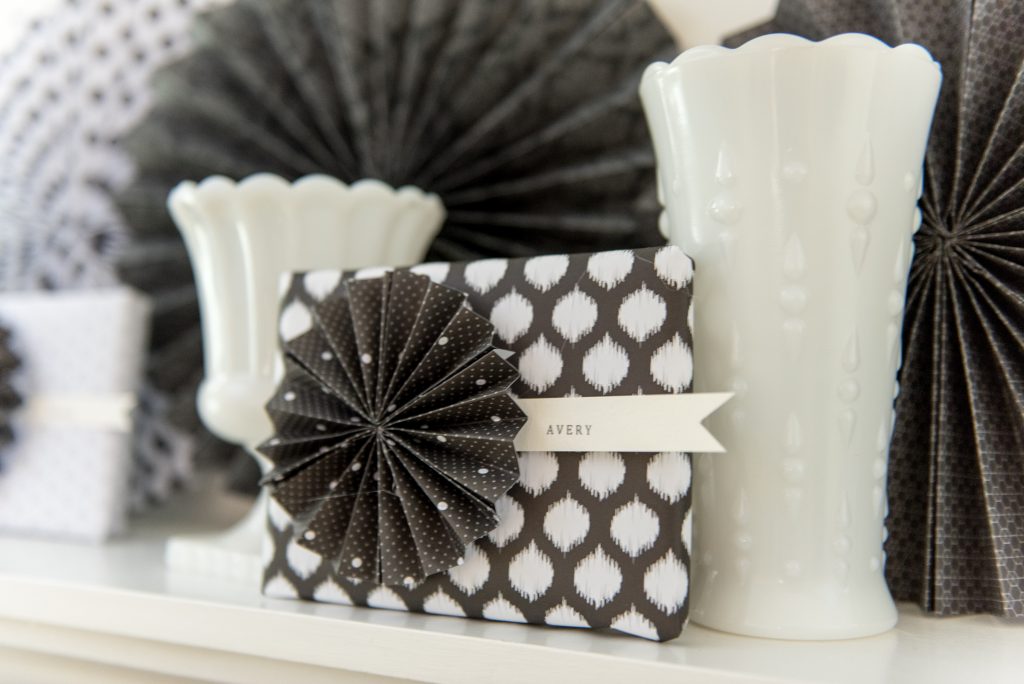
Make mini pinwheel gift toppers and attach to favors like my bestie did. So cute!
Glue pinwheels to sticks and arrange them in clusters for wedding decorations.

![]()
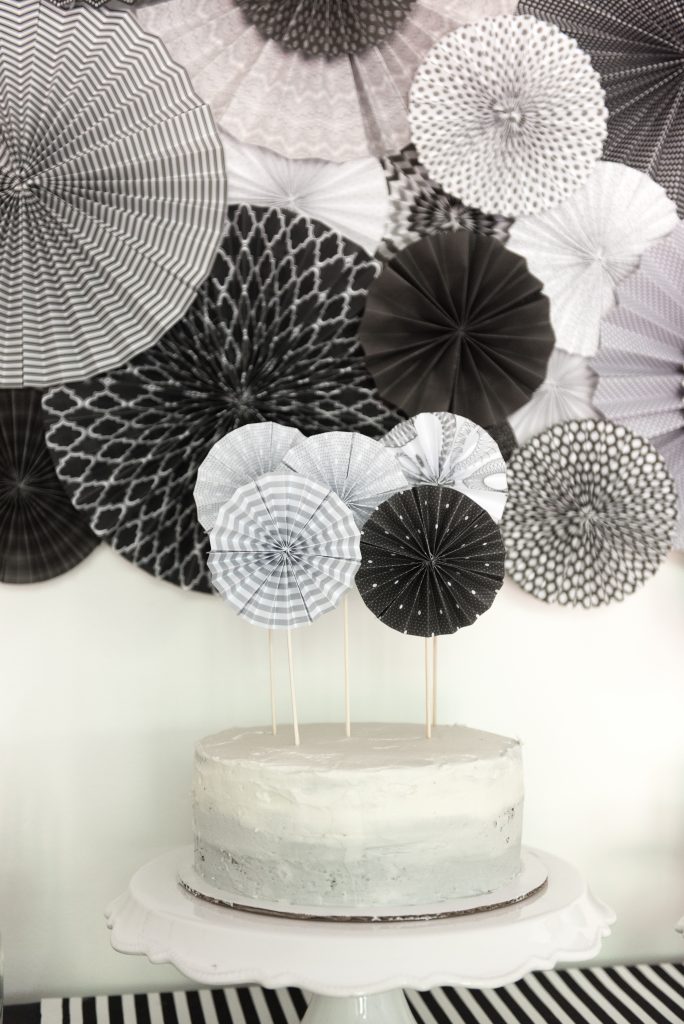
Attach mini-minis to a cake topper! Adorable!
Cut the ends into points or use a single hole punch for different edge effects.
You May Also Like
Leave A Comment